In Fun with canvas transforms a few basic examples of transforms with canvas where presented. Let’s make it a bit more interesting and create a tile of triangles to use as a seamless pattern as used in the Kaleidoscope toy tool.
The point of depart is a triangular base fragment. The triangle is equilateral: all sides have the same length and (therefor) all angles are 60 degrees.
Drawing copies of that image using transforms we will make the following tile:
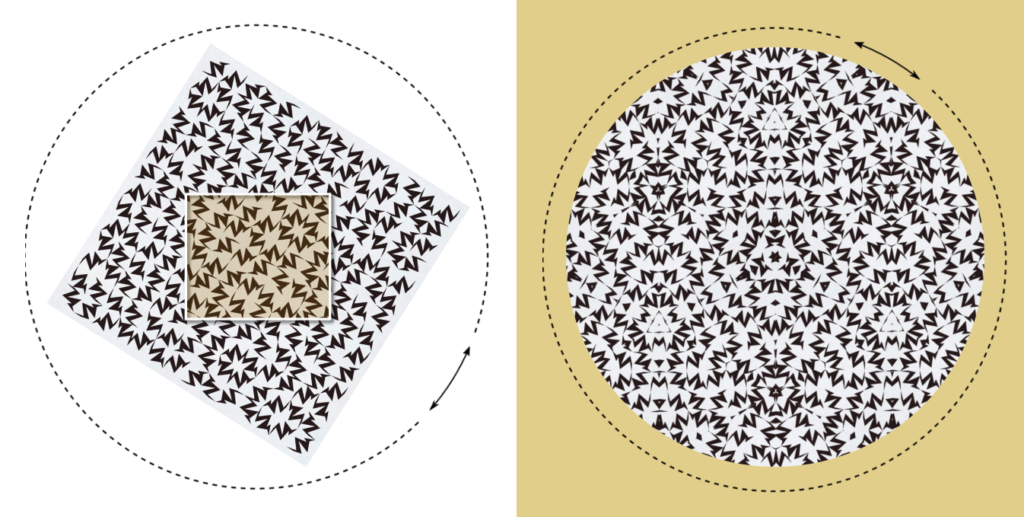
If you add copies of the tile horizontally or vertically the pattern just goes on and on: it’s seamless.
I find it useful when figuring out what transforms you need to get a desired result, to pick a point in the source fragment that you can use as an anchor. The anchor will be translated to it’s definite location and will not leave that place anymore whatever rotations or scalings follow. For the triangle you could use one of the vertices for an anchor, but I think it’s most clear to use the center of the triangle.
But where is the center of the triangle?
Centre of a triangle

Let’s first establish the height of the triangle. Suppose the sides of the triangle have length d, then the height h follows from Pythagoras’s theorem.
h = \tfrac{1}{2} \sqrt{3} dA little more geometry shows that the distance of M to the top of the triangle is twice the distance of M to the base. So the coordinates of M relative to the left-top of the bounding box are
(\tfrac{d}{2}, \tfrac{2}{3}h)Position centered triangle
If we draw the triangle image on position (0, 0)
the left-top of the triangle’s bounding box would land on the origin. To draw the triangle with its center on the origin you’d offset the coordinates with the negation of the values calculated above.
Of course if the origin is in its original position you would just see a part of the triangle. But as we will move the origin by translation, we may hope to see more of it!
Understanding transforms
In the previous post on transforms we mentioned that what is transformed is the drawing context, rather than the canvas. Put differently: a transform does not affect what already has been drawn, but affects what will be drawn afterwards.
Another thing that may raise confusion is that if a transform follows another transform, the second transform is relative to the coordinate system after the first transform. (Unless of course you restore the original situation.)
Example: if you rotate the drawing context with 45 degrees and then translate along the x-axis, you don’t move horizontally over the canvas, but diagonally, since the transformed x-axis is rotated 45 degrees.
Another example (which is of importance for our goal of creating a seamless pattern): If you mirror the context in, for instance, the y-axis, using scale(-1, 1), then rotate 30 degrees, you will see that graphics you draw afterwards will appear rotated -30 degrees. It’s like you are looking at it from the other side (or in a mirror).
In the sandbox embedded below you can tinker with transforms and check that what happens meets your expectations.
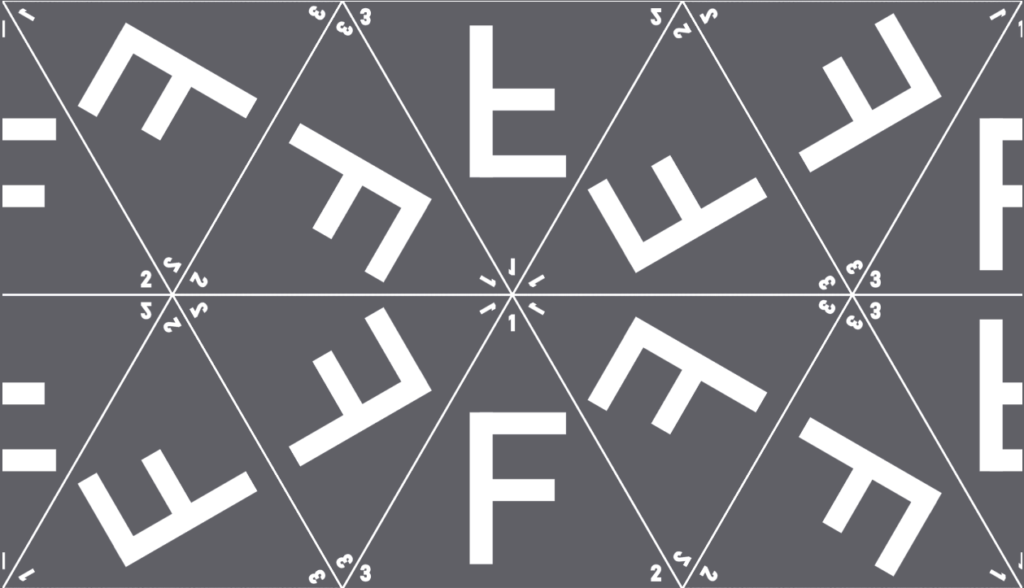
For instance the transformations of the green triangle (on top of those for the blue triangle) are as follows:
Build the pattern
Now we know how to draw transformed triangles on the spot we want them, we can build the pattern.
Actually, we just need to create the top row, then mirror a copy of that row (again using transforms).

From left to right the y-coordinate of the triangle center alternates between 2h/3 and h/3. Let’s draw the first two:
This follows the strategy outlined above of anchoring the triangle’s center each time, then scale/rotate. Variations are possible, but the variation chosen above allows to draw all triangles of the top row in a loop:
Now add a mirrored copy of what we have sofar. The sandbox below shows the end result.
Finished pattern
So now the tile is ready to use as a pattern for fill operations!